This guide will show you how to send XRP and other tokens from the XRPL EVM to other Cosmos chains using IBC via the Keplr Wallet.
Before proceeding, ensure you’ve completed the following:
- ✅ Installed the Keplr extension
- ✅ Created a Keplr wallet account
- ✅ Added the XRPL EVM to Keplr
- ✅ Funded your account with XRP
📝 All of these steps are covered in the Install Keplr Guide
The Peersyst team has established IBC channels that connect the XRPL EVM with other Cosmos-based chains, enabling seamless cross-chain token transfers.
- XRPL EVM ↔ Elys Network
- XRPL EVM ↔ Cosmos Hub
- XRPL EVM ↔ Osmosis
- XRPL EVM ↔ Injective
- XRPL EVM ↔ Noble
You can use Keplr's Advanced IBC Transfer tool to send tokens across these networks.
To access the IBC transfer feature:
- Open the Keplr extension in your browser.
- Click the menu icon (☰) and go to Settings.
- Scroll to Advanced settings.
- Enable Developer Mode.
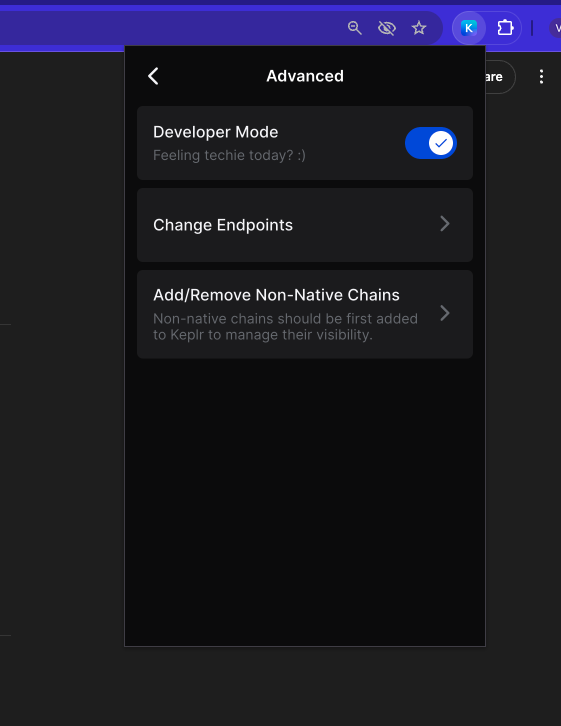
- Return to the Keplr main screen (Home).
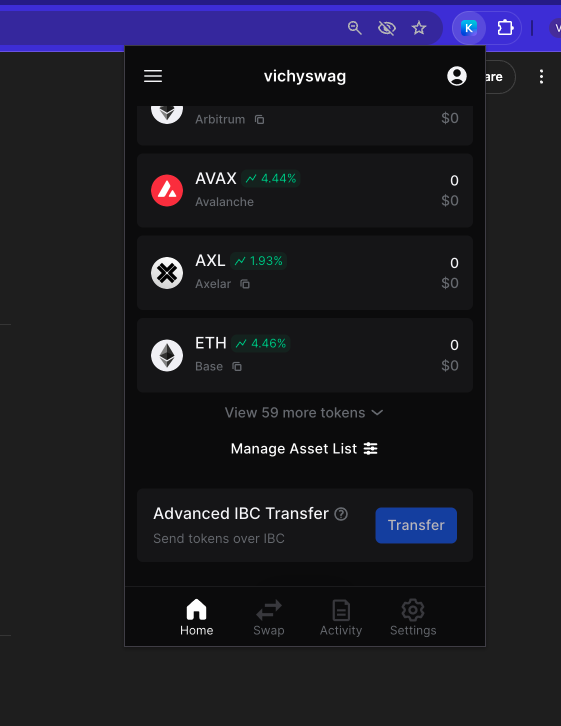
- Scroll down to the bottom of the chain list.
- On Advanced IBC Transfer click on Transfer to begin the process.
Select Asset:
Choose XRP or another supported token from XRPL EVM.Select Destination Chain:
- If it's not already listed, click Add New IBC Transfer Channel.
- Choose the destination chain and input the channel ID.
| Destination | From XRPL EVM (Source → Dest) | To XRPL EVM (Dest → Source) |
|---|---|---|
| Cosmos Hub | channel-2 | channel-1377 |
| Elys Network | channel-1 | channel-27 |
| Injective | channel-0 | channel-436 |
| Osmosis | channel-3 | channel-104325 |
| Noble | channel-4 | channel-152 |
Paste Destination Address:
- Ensure it's a valid Keplr-compatible address on the target chain.
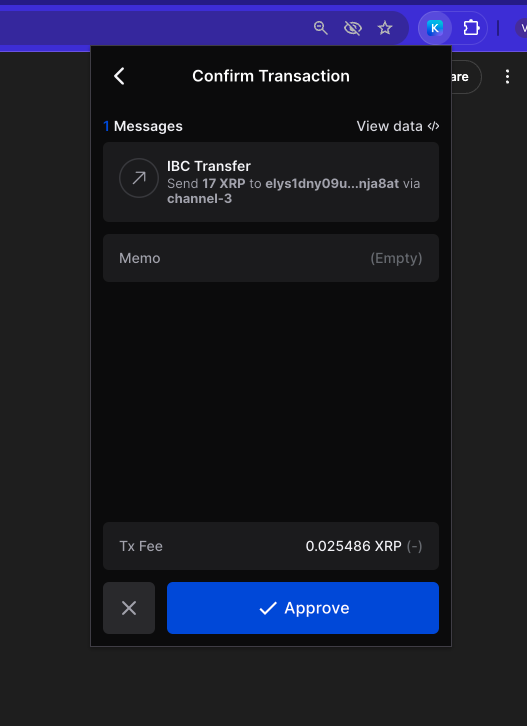
Review & Confirm Transfer:
- Check that the token, amount, destination address, and channel are correct.
- Click Next to continue.
Sign the Transaction:
- Keplr will prompt you to sign the transaction.
- Confirm and approve the transaction to complete the IBC transfer.
- Transfers may take a few minutes to reflect on the destination chain.
- You can track the status using:
- XRPL EVM Explorers
- The destination chain’s respective testnet explorer
🔁 Want to transfer back? Simply reverse the process, using the appropriate reverse channel ID in your destination chain’s Keplr wallet.